Making Worm Tea Tutorial
Making worm tea is a simple process and anyone can do it, but it is paramount that certain steps be followed to a "tea" (pun intended).
Making Worm Tea Video Tutorial
PROOF!
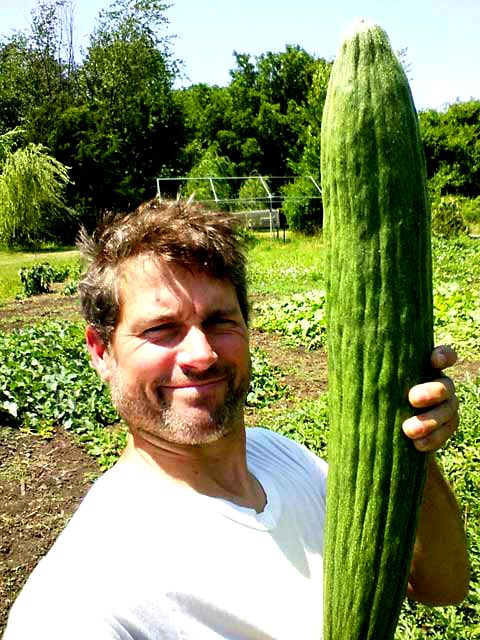
See my Garden Pics from using a simple "Pump & Bucket" system.
---Side Note---
I've used the simple "Pump & Bucket" system for years. Please don't let anyone tell you that you need something more than this. If you've seen my garden pics then be confident I know what I'm talking about.
Nature is simple, Man is NOT!
You can make it as complicated as you want, but I will tell you personally you're not likely going to see the difference in your plants. You can always have your tea analyzed by a lab as well. You be the judge.
----
You can also make compost tea from your compost piles outside. The process is still the same. However, the tea from worm castings is a superior brew. As discussed in the free worm farming guide and Revolution books you can understand why these microbes reign supreme.
Many people think they can cut corners or skimp on measurements because they're in a hurry or don't think it's a delicate process. This is a very delicate process and it takes time and patience.
If it's not done right, you could risk the chance of ruining your entire lawn, garden, or plants by putting large quantities of harmful microbes/pathogens into your soil. Remember, this is not hard. It just takes time to following some simple instructions correctly.
Caution:
Make sure to use castings that are fully composted or "mature" castings. You don't want anything in the system that's still in the decaying process. This material will contain too many non beneficial microbes.
This is crucial for food crops, but not as much for ornamental flowers. However, it is still best to play it safe. You can still harm ornamental plants if not properly brewed.
Text Tutorial on
How to make compost tea or making worm tea
What you will need:
- One 5 Gallon bucket or equivalent (see my larger system below)
- String of any kind
- One 20-60 Gallon, Double Outlet Aquarium Air Pump (see my recommended pumps below)
- Several feet of aquarium tubing
- Two large bubble stones and two small bubble stones (optional)
- Two aquarium tubing T-valve connectors
- A one gallon paint strainer (5 gallon, okay)
- One bottle of hydrogen peroxide
- Drill and 5/16 inch drill bit (Optional)
- One bottle of unsulfured molasses
Step #1
Drill two holes in the side near the top of the container 1 inch apart. This is where you will use the string to hang the bag of castings. If you don't have a drill and a drill bit then you can just tie the bag to the handle
Step #2 (optional)
Place the two large bubble stones in the container and connect an 4 inch hose to each end. Connect the T-valve to both ends of the hoses. Now attach one long hose to the last hole on the T-valve to where ever the pump will be.
Step #3 (optional)
Repeat step #2. using the smaller bubble stones.
Note:
I no longer use the bubble stones as I see no difference in my plants from just using an opened end on the tubing. You may still have to use the stones if your setup requires them to get adequate bubbling and liquid turbulence.
Step #4
Install the check valves that came with the pump somewhere in between the pump and container. Be careful to install them in the right direction. This is to prevent siphoning from the tank to the pump.
If you do not have any check valves them make sure you place the pump above the water to prevent the water from siphoning.
Step #5
Fill the container with water. Use rain water or pond water. Tap water has chlorine which will kill your microbes. Stay away from treated water of any kind. That also goes for bottled water too.
If tap water is your only source then you will have to run/bubble the system for 4 hours without any castings. You can also set your water out in the sun for a day. This will allow the chlorine to gas out.
Chlorine, in drinking water, is added to the water to kill any and all microorganisms. The one good thing about chlorine is that it burns out fast.
Stay away from the chlorinated water.
Hang in there. You'll be making worm tea in no time.
Step #6
Put a couple of handfuls of castings into the paint strainer. Now put the small bubble stones (optional) in as well. Place the bag into the water and tie it off with the string to the holes you pre-drilled.
The bag should sit just under the water making sure that all castings are submerged.
Step #7
Turn the system on and slowly add 1/2 ounces of molasses. The molasses is the catalyst to grow your microbes. It serves as their food source. After 8 hrs. take the bag out.
By now, you should have enough microbes to work with. They will begin to multiply exponentially. You may now dump the castings back into the worm bin.
Note:
If you want to make compost tea with plenty more microbes and plan on making it stretch further, use 3 ounces of molasses and leave the castings in the water.
Step #8
After 24-36 hrs. spread on your soil or plants. Dilute the tea in whichever way you like. The water is only a carrier. The 5 gallons will treat approximately 1 acre of soil. Mix the tea with 50 gallons of untreated water or use is straight.
You cannot put too much on. Remember, it's just healthy, living microorganisms.
Spray or shower your plants. Be sure to get under the leaves as well. The bigger the drops are the longer it will soak into the plant if using as a foliar spray.
Note:
You must use the tea Immediately (as soon as possible, within 4 hours) or it will become anaerobic. Lack of oxygen will promote the unwanted microbes to populate.
P.S.
When making worm tea you do not have to suspend your castings or compost in a bag. You can brew them directly in the water and pour the tea on your plants even with the compost in the bucket.
You may have a little difficulty, if using a shower bucket, getting the castings or composted fertilizer to come out of the shower head.
Many, like myself, will sometimes put the worm castings back into the worm bin. They are full of highly aerobic microbes and possibly some worms and cocoons, but the worm bin or plants both will benefit.
Remember, if you plan on using a prayer that you will want to strain out the castings back through the paint strainer once or twice or they'll get clogged in the system.
P.P.S. The hydrogen peroxide is to clean your equipment when you are finished. Unwanted microbes will grow as it's wet and taking time to dry out.
Happy Tea Making,
~Pauly
Making Worm Tea 2018 to Today
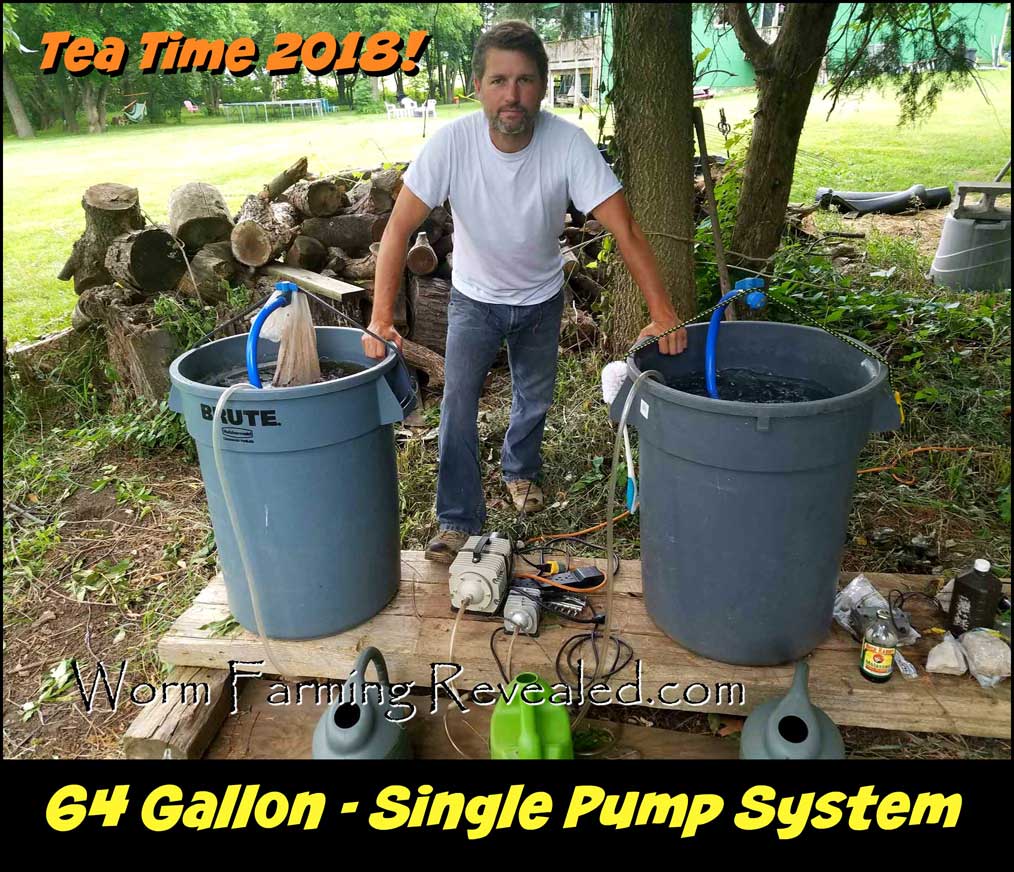
Above, I'm brewing 64 gallons of Worm Tea. This is NO DIFFERENT than the 5 gallon simple pump-and-bucket set up. It's just on a much larger scale.
It's the same ingredients and brew time.
You see 2 pumps, but I'm only using the bigger one. I have not seen any difference in the garden. The only difference is, NOW, I can use more tea on more plants and go REALLY BIG! :)
What Do Compost Tea Microbes Look Like?
This IS Plant Food on Steroids.
It's highly active microbes.
My Favorite Air Pumps for Making Worm Tea
(Pumps below will last for years and take a beating. I know, cause I own them)
1. For a 5 gallon bucket, any Walmart or pet store air pump (rated for at least 20 gallons)
However, the cheaper ones from Walmart, PetSmart, etc. have a harder time pushing the air volume to maintain liquid turbulence. It will still do the job.
2. Eco Plus Commercial Air Pump 793 GPH
Watch my video above for the different types of pumps, if you haven't.
I really recommend this one for more air volume if you have a 5 gallon bucket, equivalent or larger:
3. Active Aqua Commercial Air Pump 1,750 GPH
This is the pump I use every year, all season long. It is a true work horse and handles both garbage cans at once. It can handle at least a 4 ft. depth. It's by far my favorite.
Active Aqua Commercial Air Pump 1750 GPHThe Hydrofarm Active Aqua AAPA110L 112W 1,750 GPH Commercial Pond Hydroponics 12 Outlet Air Pump
I currently use this one. Both are great!
Hydrofarm Active Aqua AAPA110L 112W 1750 GPH Commercial Pond Hydroponics 12 Outlet Air Pump
This book only deals with my personal soil mix recipe and methodology for large, healthy, pest-resistant plants.
 |
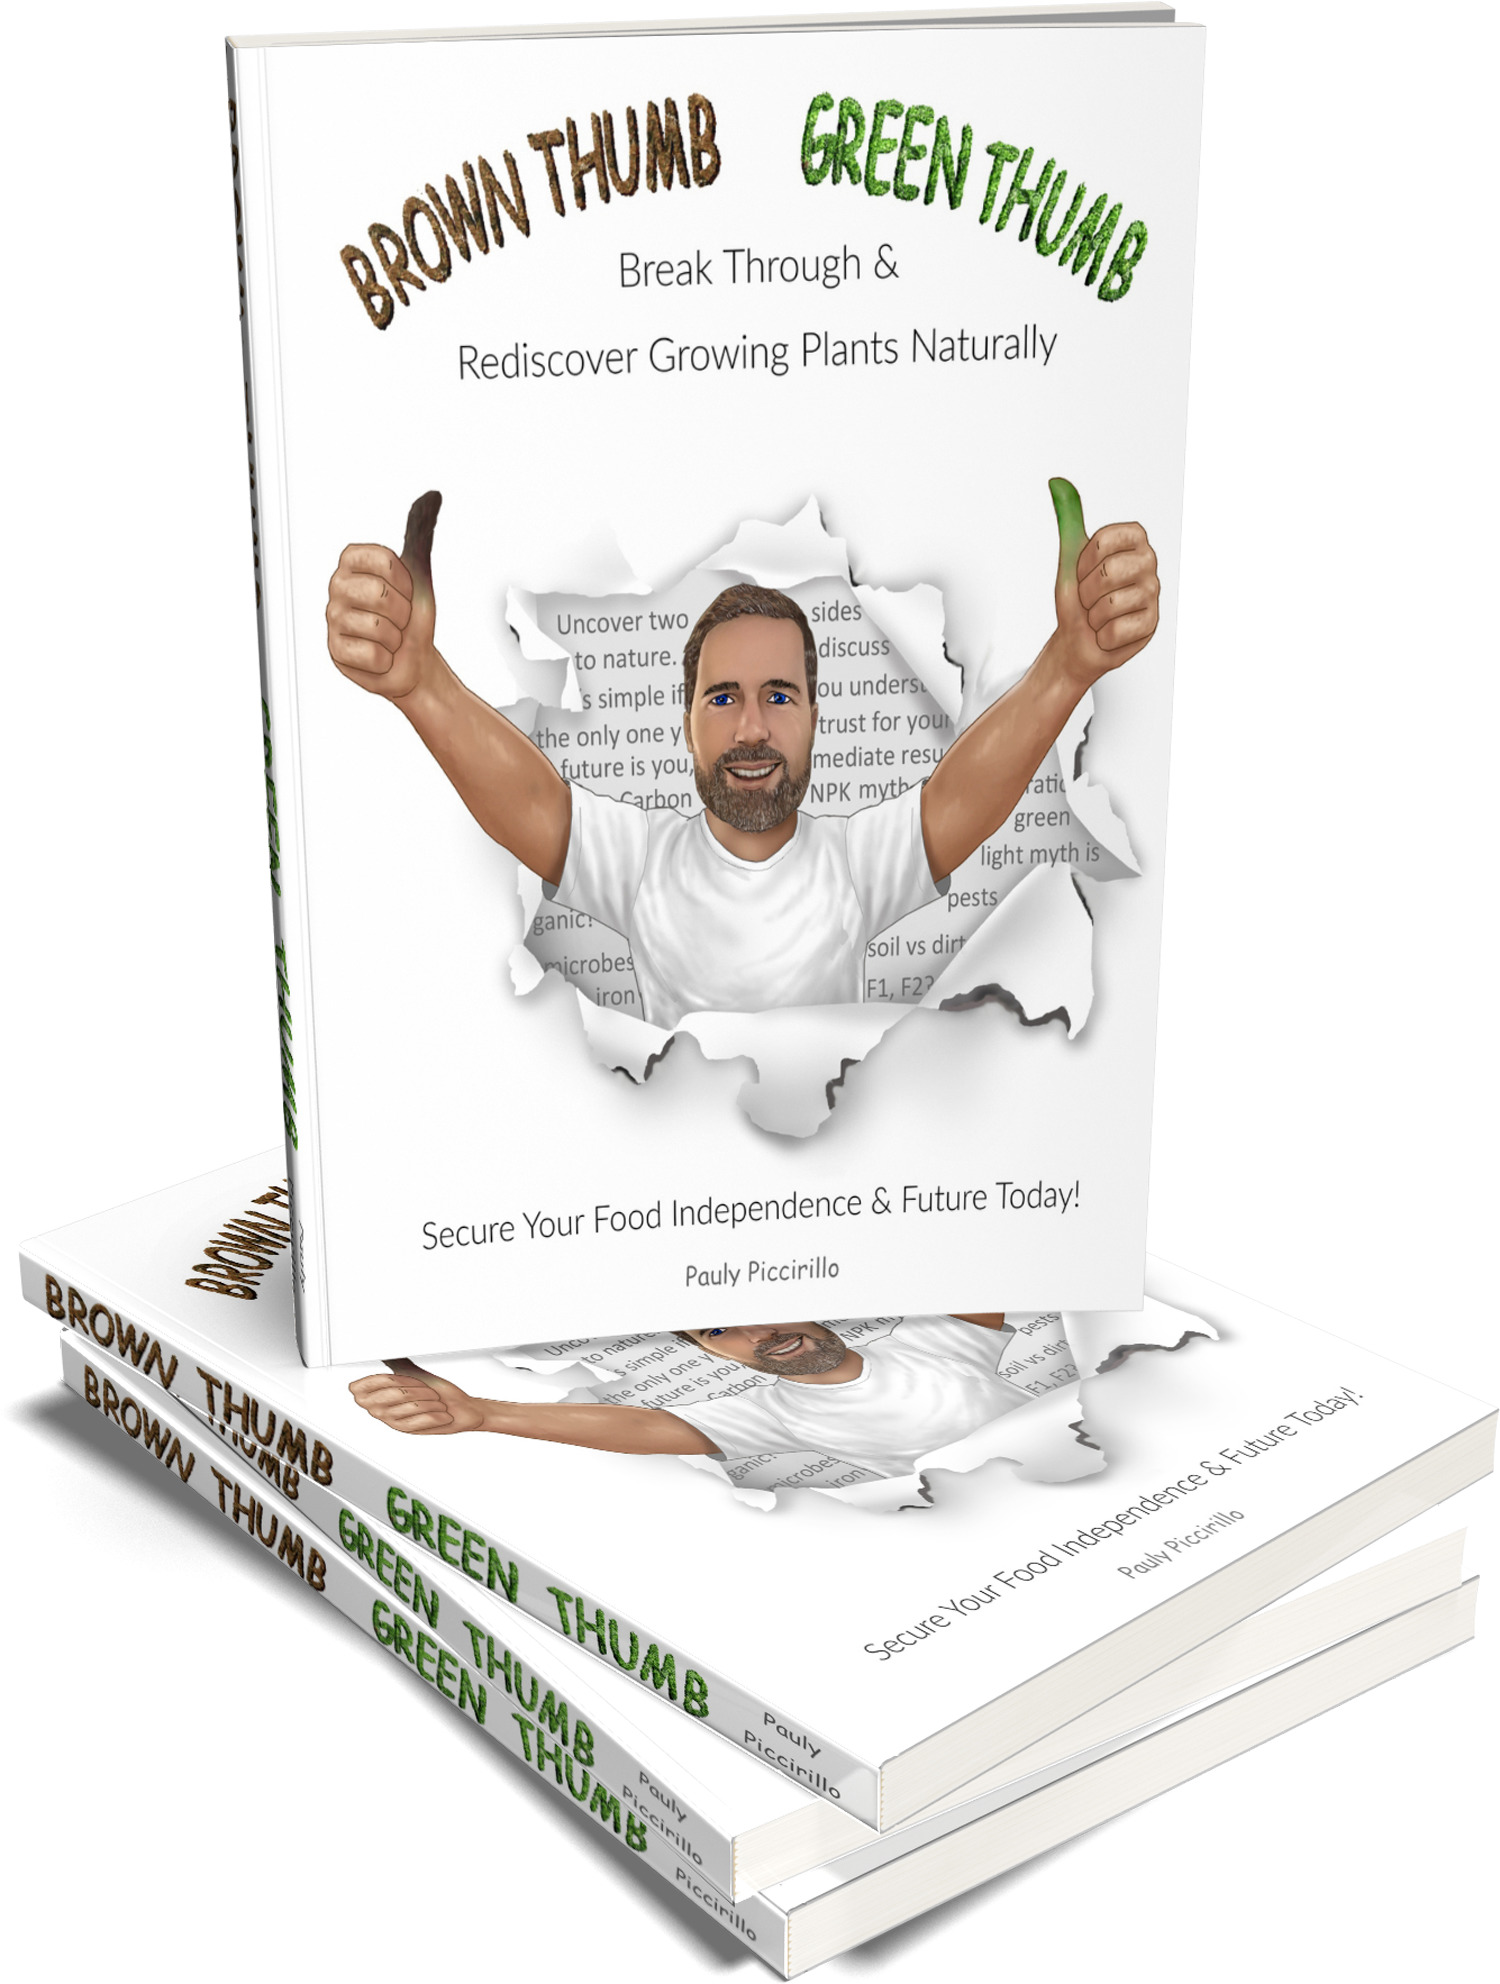
This book is my Secret Recipe book on Steroids. I go into much more detail about what living soil is, How to make compost, compost tea, LED Lighting, understanding photosynthesis, and more. |
 Paperback or eBook |
Like what you read so far? There's a whole lot more on this topic. Over 270 pages
of worm composting information from making worm tea to raising 6
different worm species for gardening, fishing, or your recycling needs. Get it & Read it Today! |
Return from Making Worm Tea to What is Worm Tea
If you know someone who will benefit from making worm tea then please share this page.
