Roberts Flow Through Outdoor Vermicompost System...Cont'd
This is my update on the flow-through vermicompost outdoor system. To help you get a better idea of how to set it up. Take a look at all of the pics and then go back to the first page to leave any comments or questions. Thanks, Robert Bishop.
Return to Robert's first page and leave some comments or questions
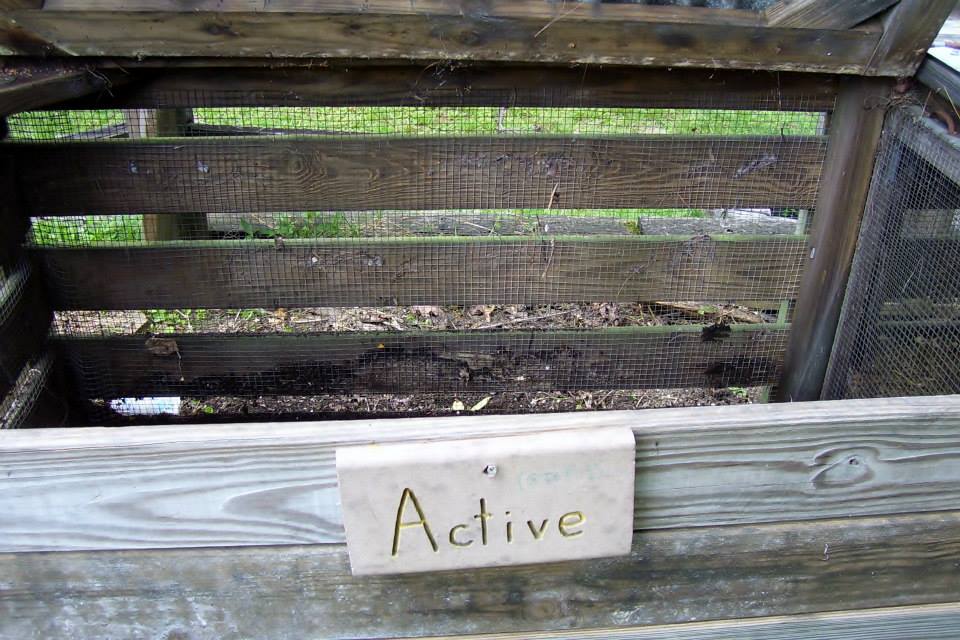
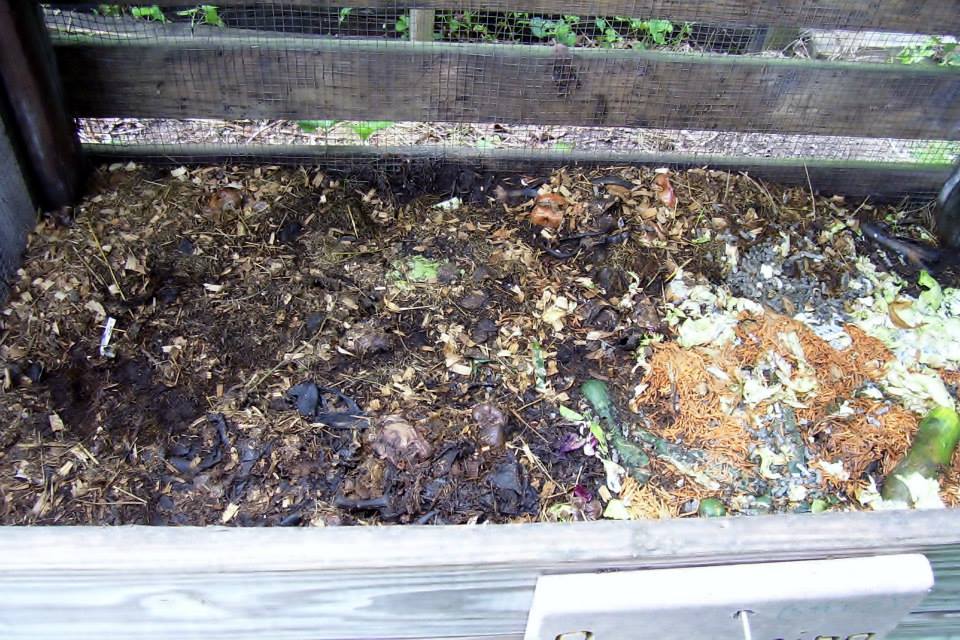
Pic 0001: Our vermicomposting process is 3-stage. Stage 1 is "Active" and is where we add food waste to a bedding mixture of leaves and horse manure.
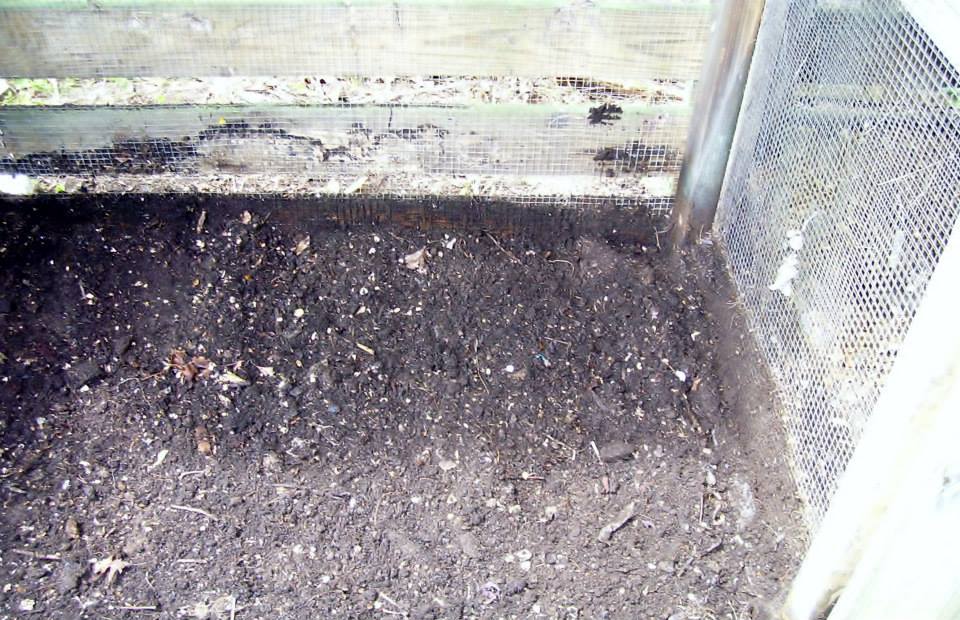
Pic 0001a: The bin is cleaned thoroughly and prepared for new bedding material.
Pic 0002: There were some questions as to the construction of the bins. Here you can see the 1/4" mesh that keeps plenty of air circulating and also keeps out critters. I think I misidentified the mesh in an earlier post as being 1/8", but it is actually 1/4".
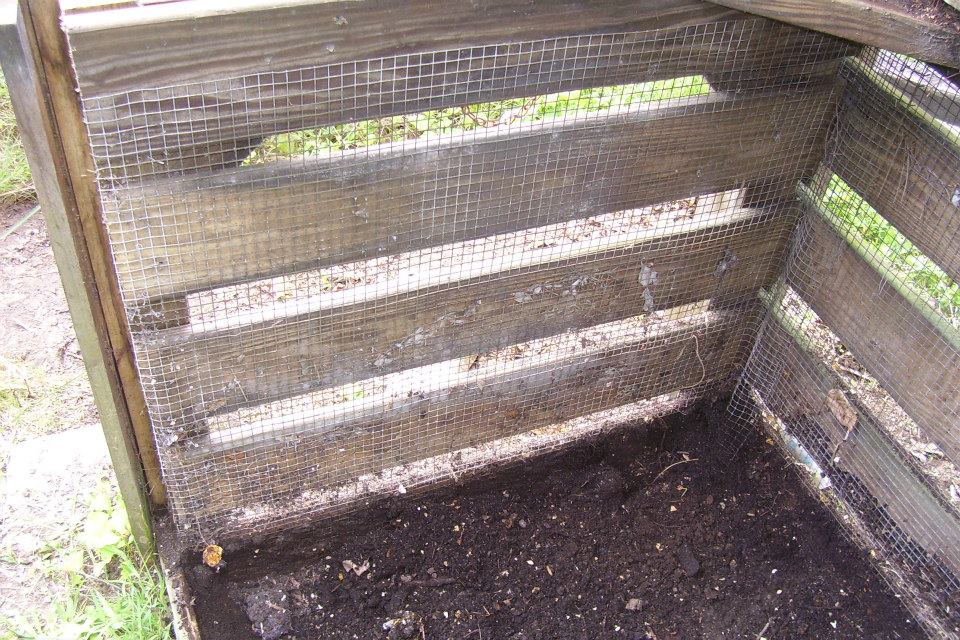
Pic 0003: Another look at the back side of the bins. 1/4" mesh over 5/4" decking boards spaced 3" apart.
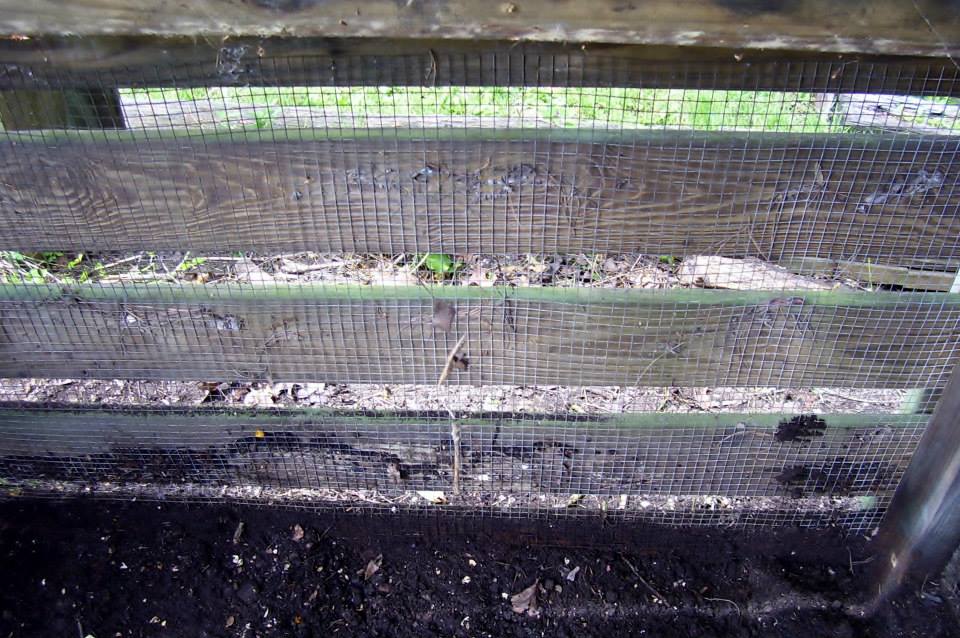
Pic 0004: the bin compartments are separated by removable 1/4" mesh screen panels.
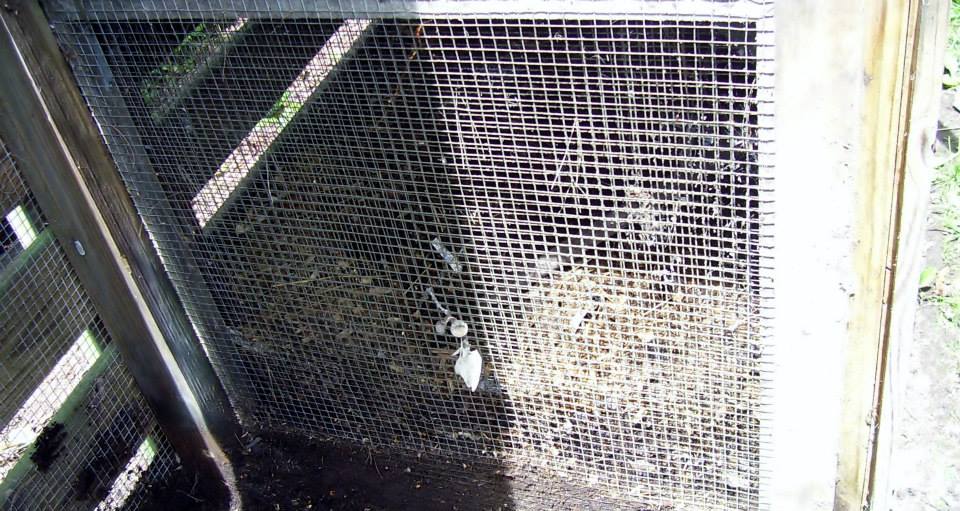
0005: The front panels are 5/4" decking boards inserted into a channel guide.
0006: Stage 2 is the "processing stage, where composting food, paper, cardboard, and manure that has been added for 3 months is allowed to be worked thoroughly by the worms.
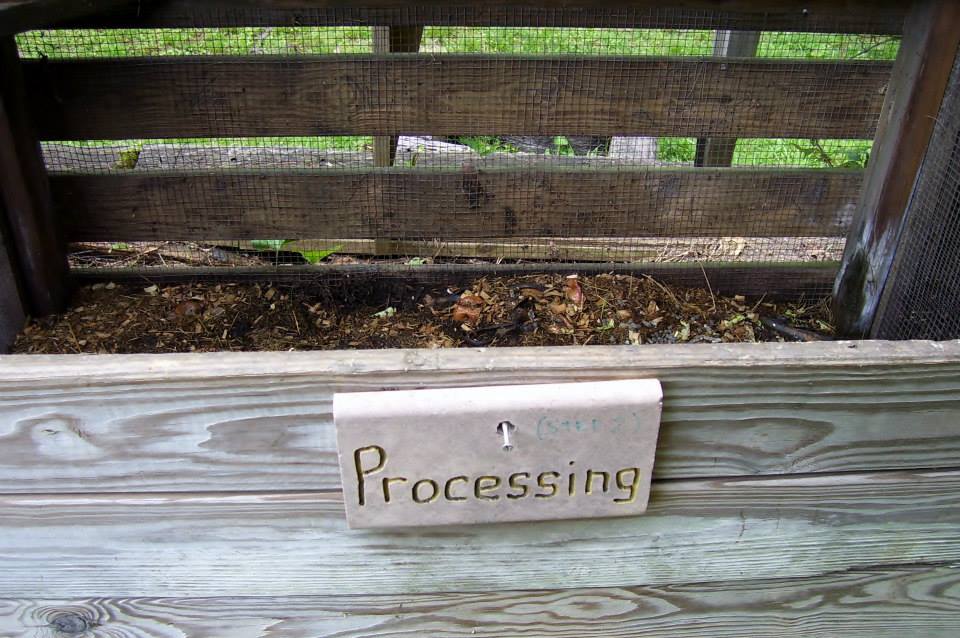
Pic 0006a
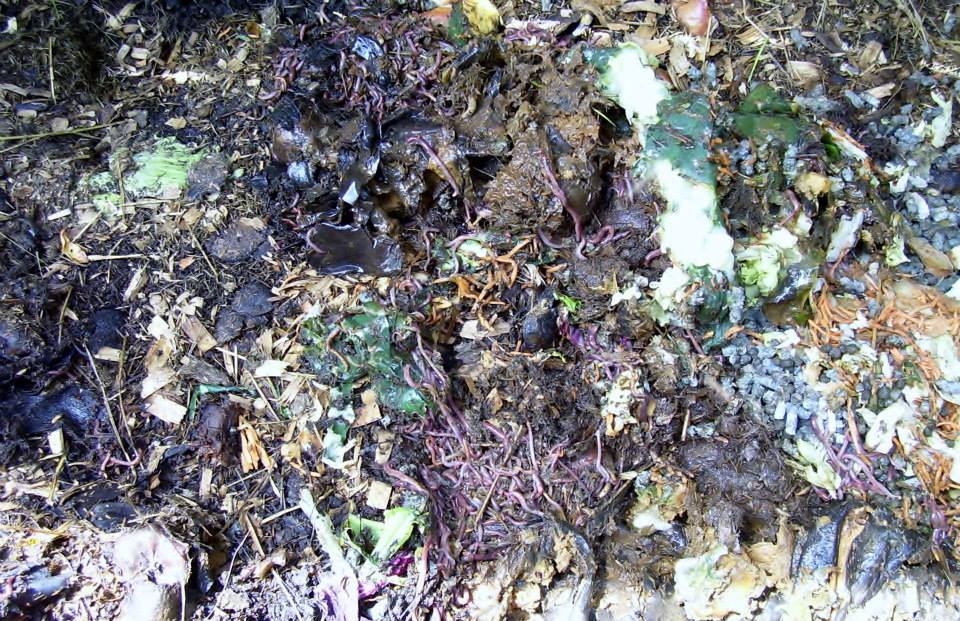
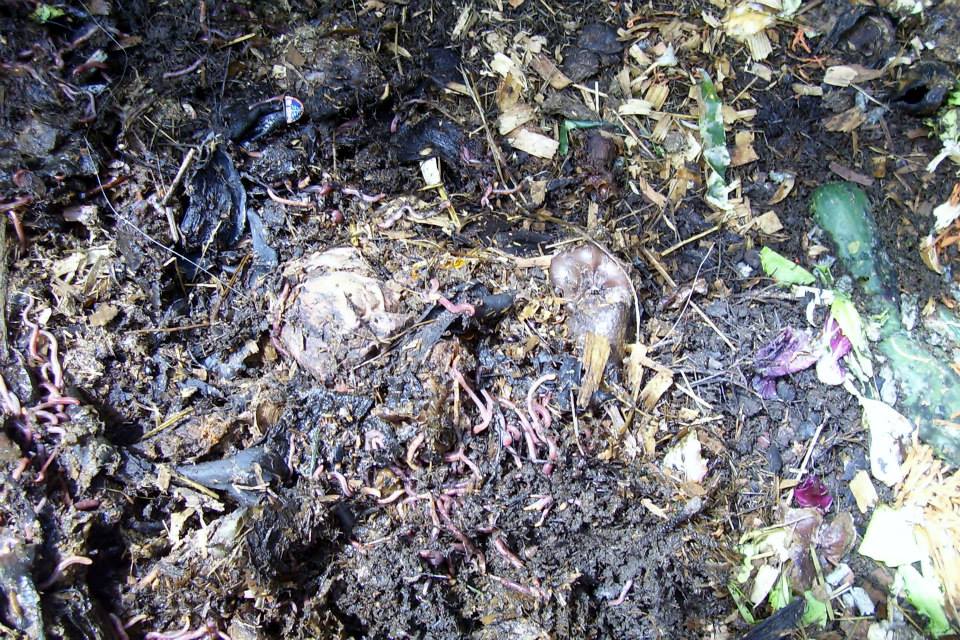
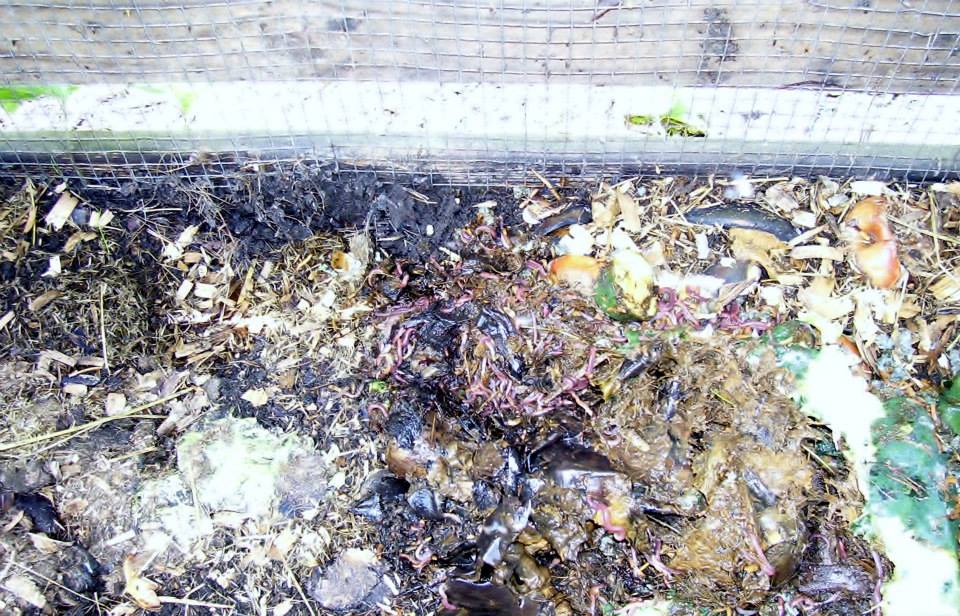
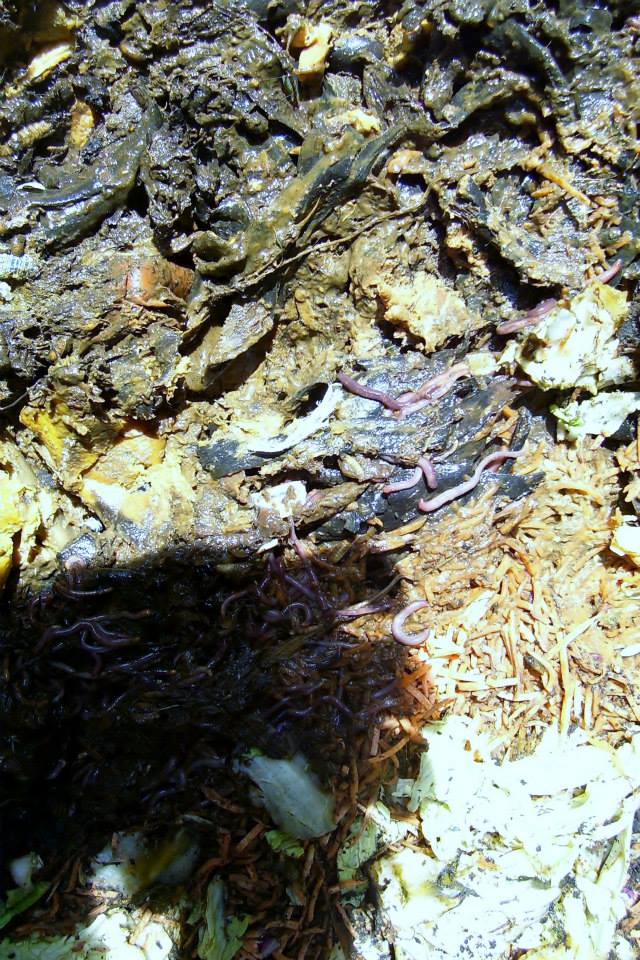
0007 - 00010: Eisenia Fetida in action
Pic 0007a
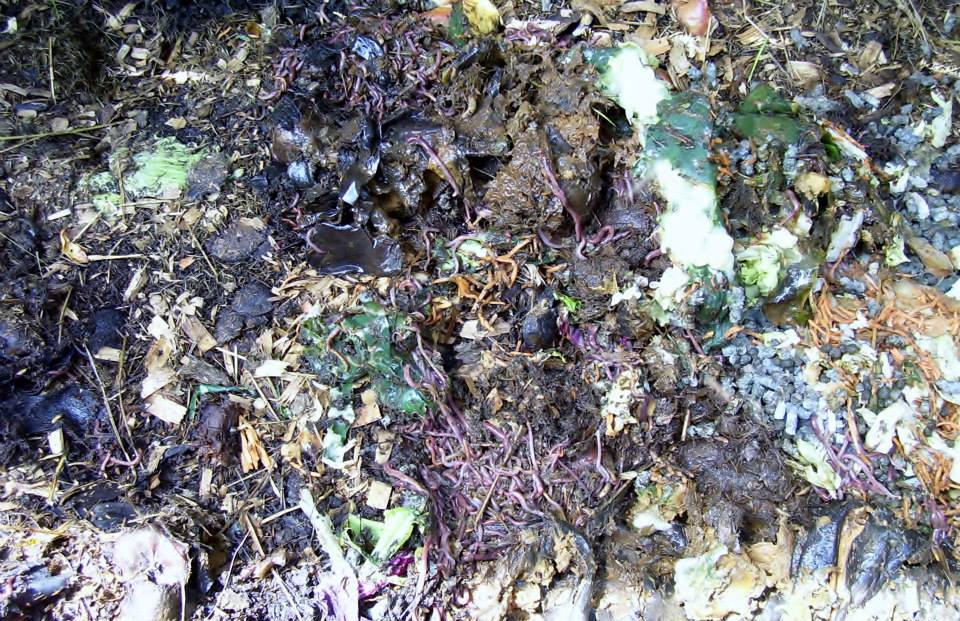
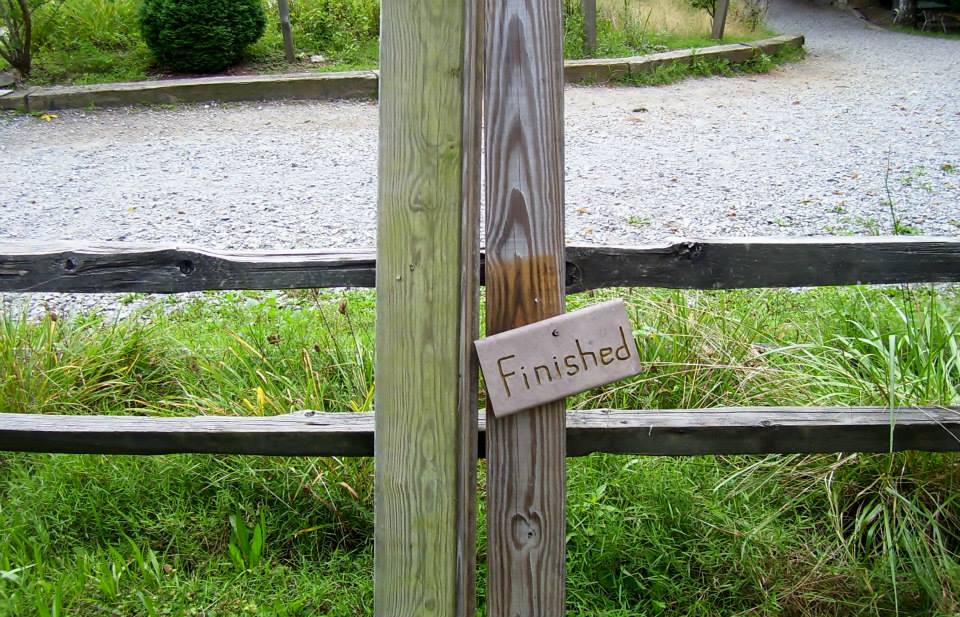
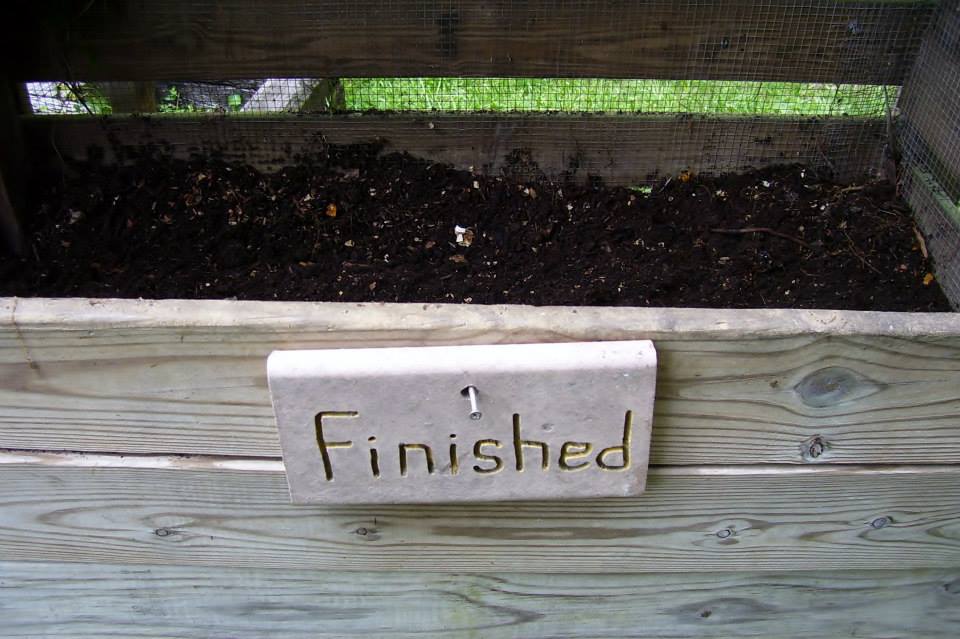
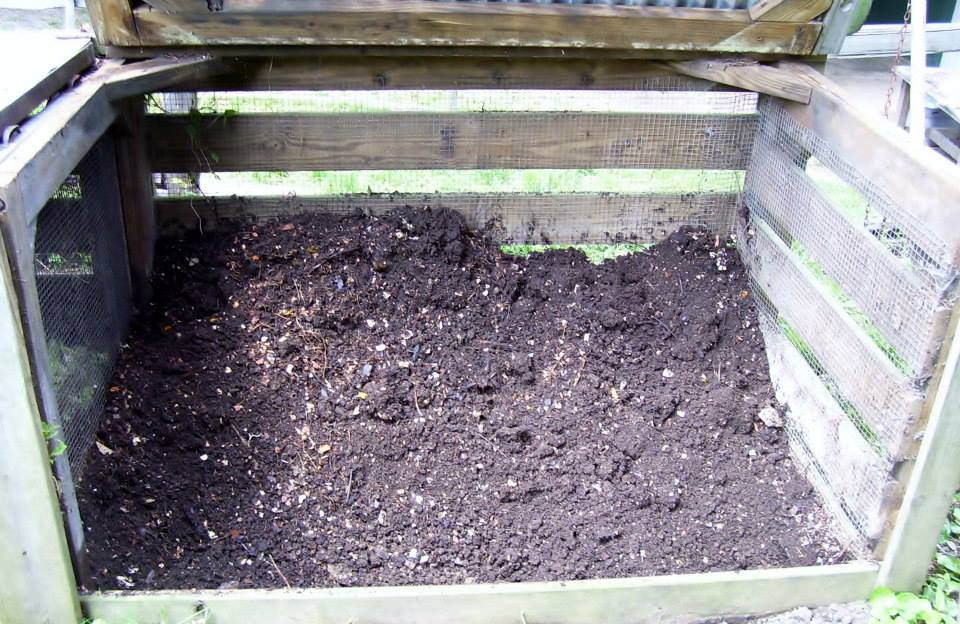
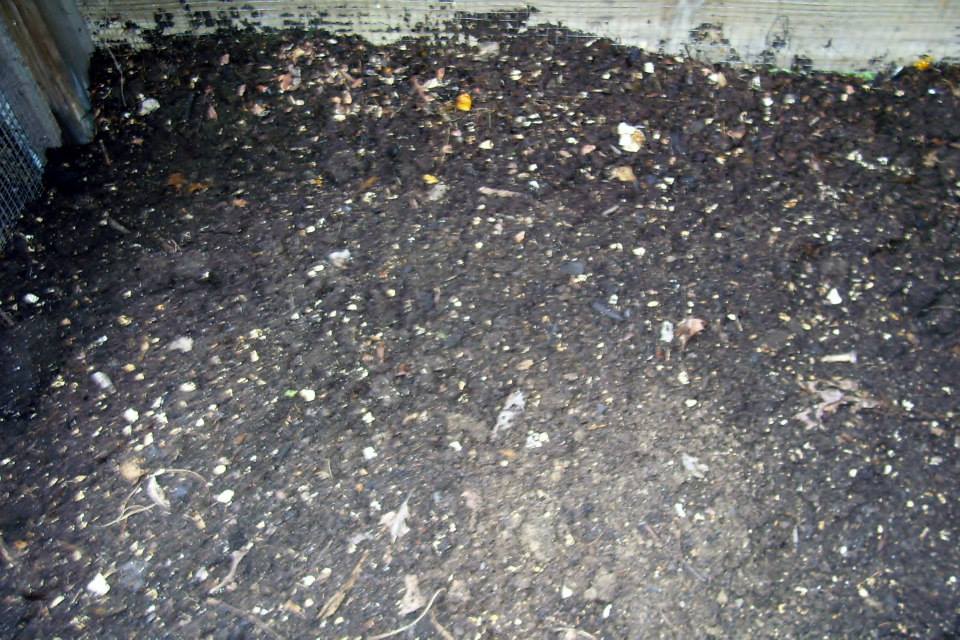
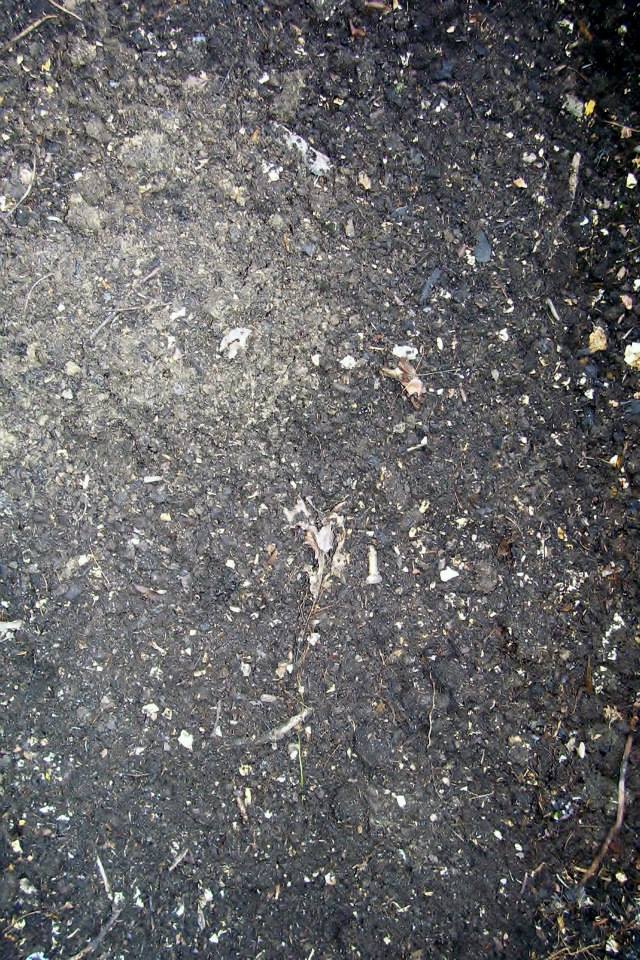
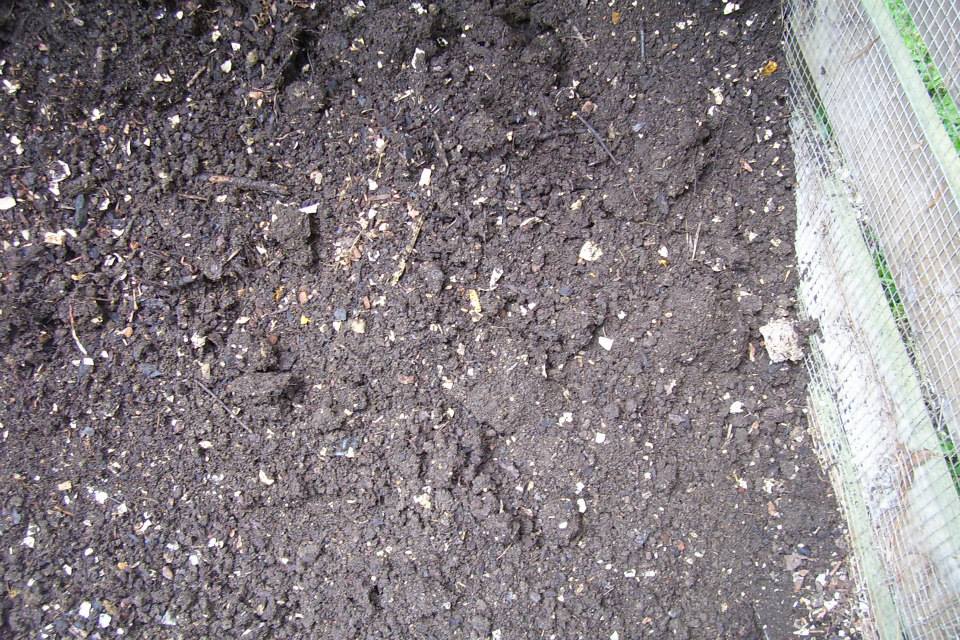
00011-00015: The 3rd stage is "Finished" where the vermicompost and castings are allowed to sit until we are ready to screen them for use in our garden and beds around camp.
Thanks everyone for reading and all the best in your worm farming system :)
Return to Robert's first page and leave some comments or questions

